

How To Make An Animation With Adobe
Adobe Animate is the latest in a long line of tools for animators. Information technology's Adobe Suite'southward own resident 2D blitheness software; its reply to competitors such equally Harmony and other professional animation systems.
Animate is a direct descendent of the OG of prosumer animation software, Macromedia Wink. Although Flash is long behind us, we're still able to bask all of the revolutionary features that made it and so wildly popular in the first place through Adobe Animate equally it exists currently.
You can grab the Adobe Animate free trial from Adobe's site. Once it's yours, it'due south fourth dimension to dive in.
How to Use Adobe Animate: Getting Started
First, you'll need to download Animate CC through the Creative Deject desktop app or from Adobe'southward website.
Adobe Animate CC System Requirements
If yous're using a PC, you should exist using an operating organization no older than Windows 7. Every bit far as your processor is concerned, Adobe recommends an Intel Pentium iv, Intel Centrino, Intel Xeon, or Intel Core Duo processor, or whatever other uniform processor capable of at least 2GHz or more.
Apple tree users should exist using a Multicore Intel processor and macOS X version 10.12 or later.
8GB of RAM is recommended, just Adobe claims that users can become by with only 2GB. A 1280x1040 brandish is too preferable over a 1024x900 display.
How to Utilize Adobe Animate's Workspace
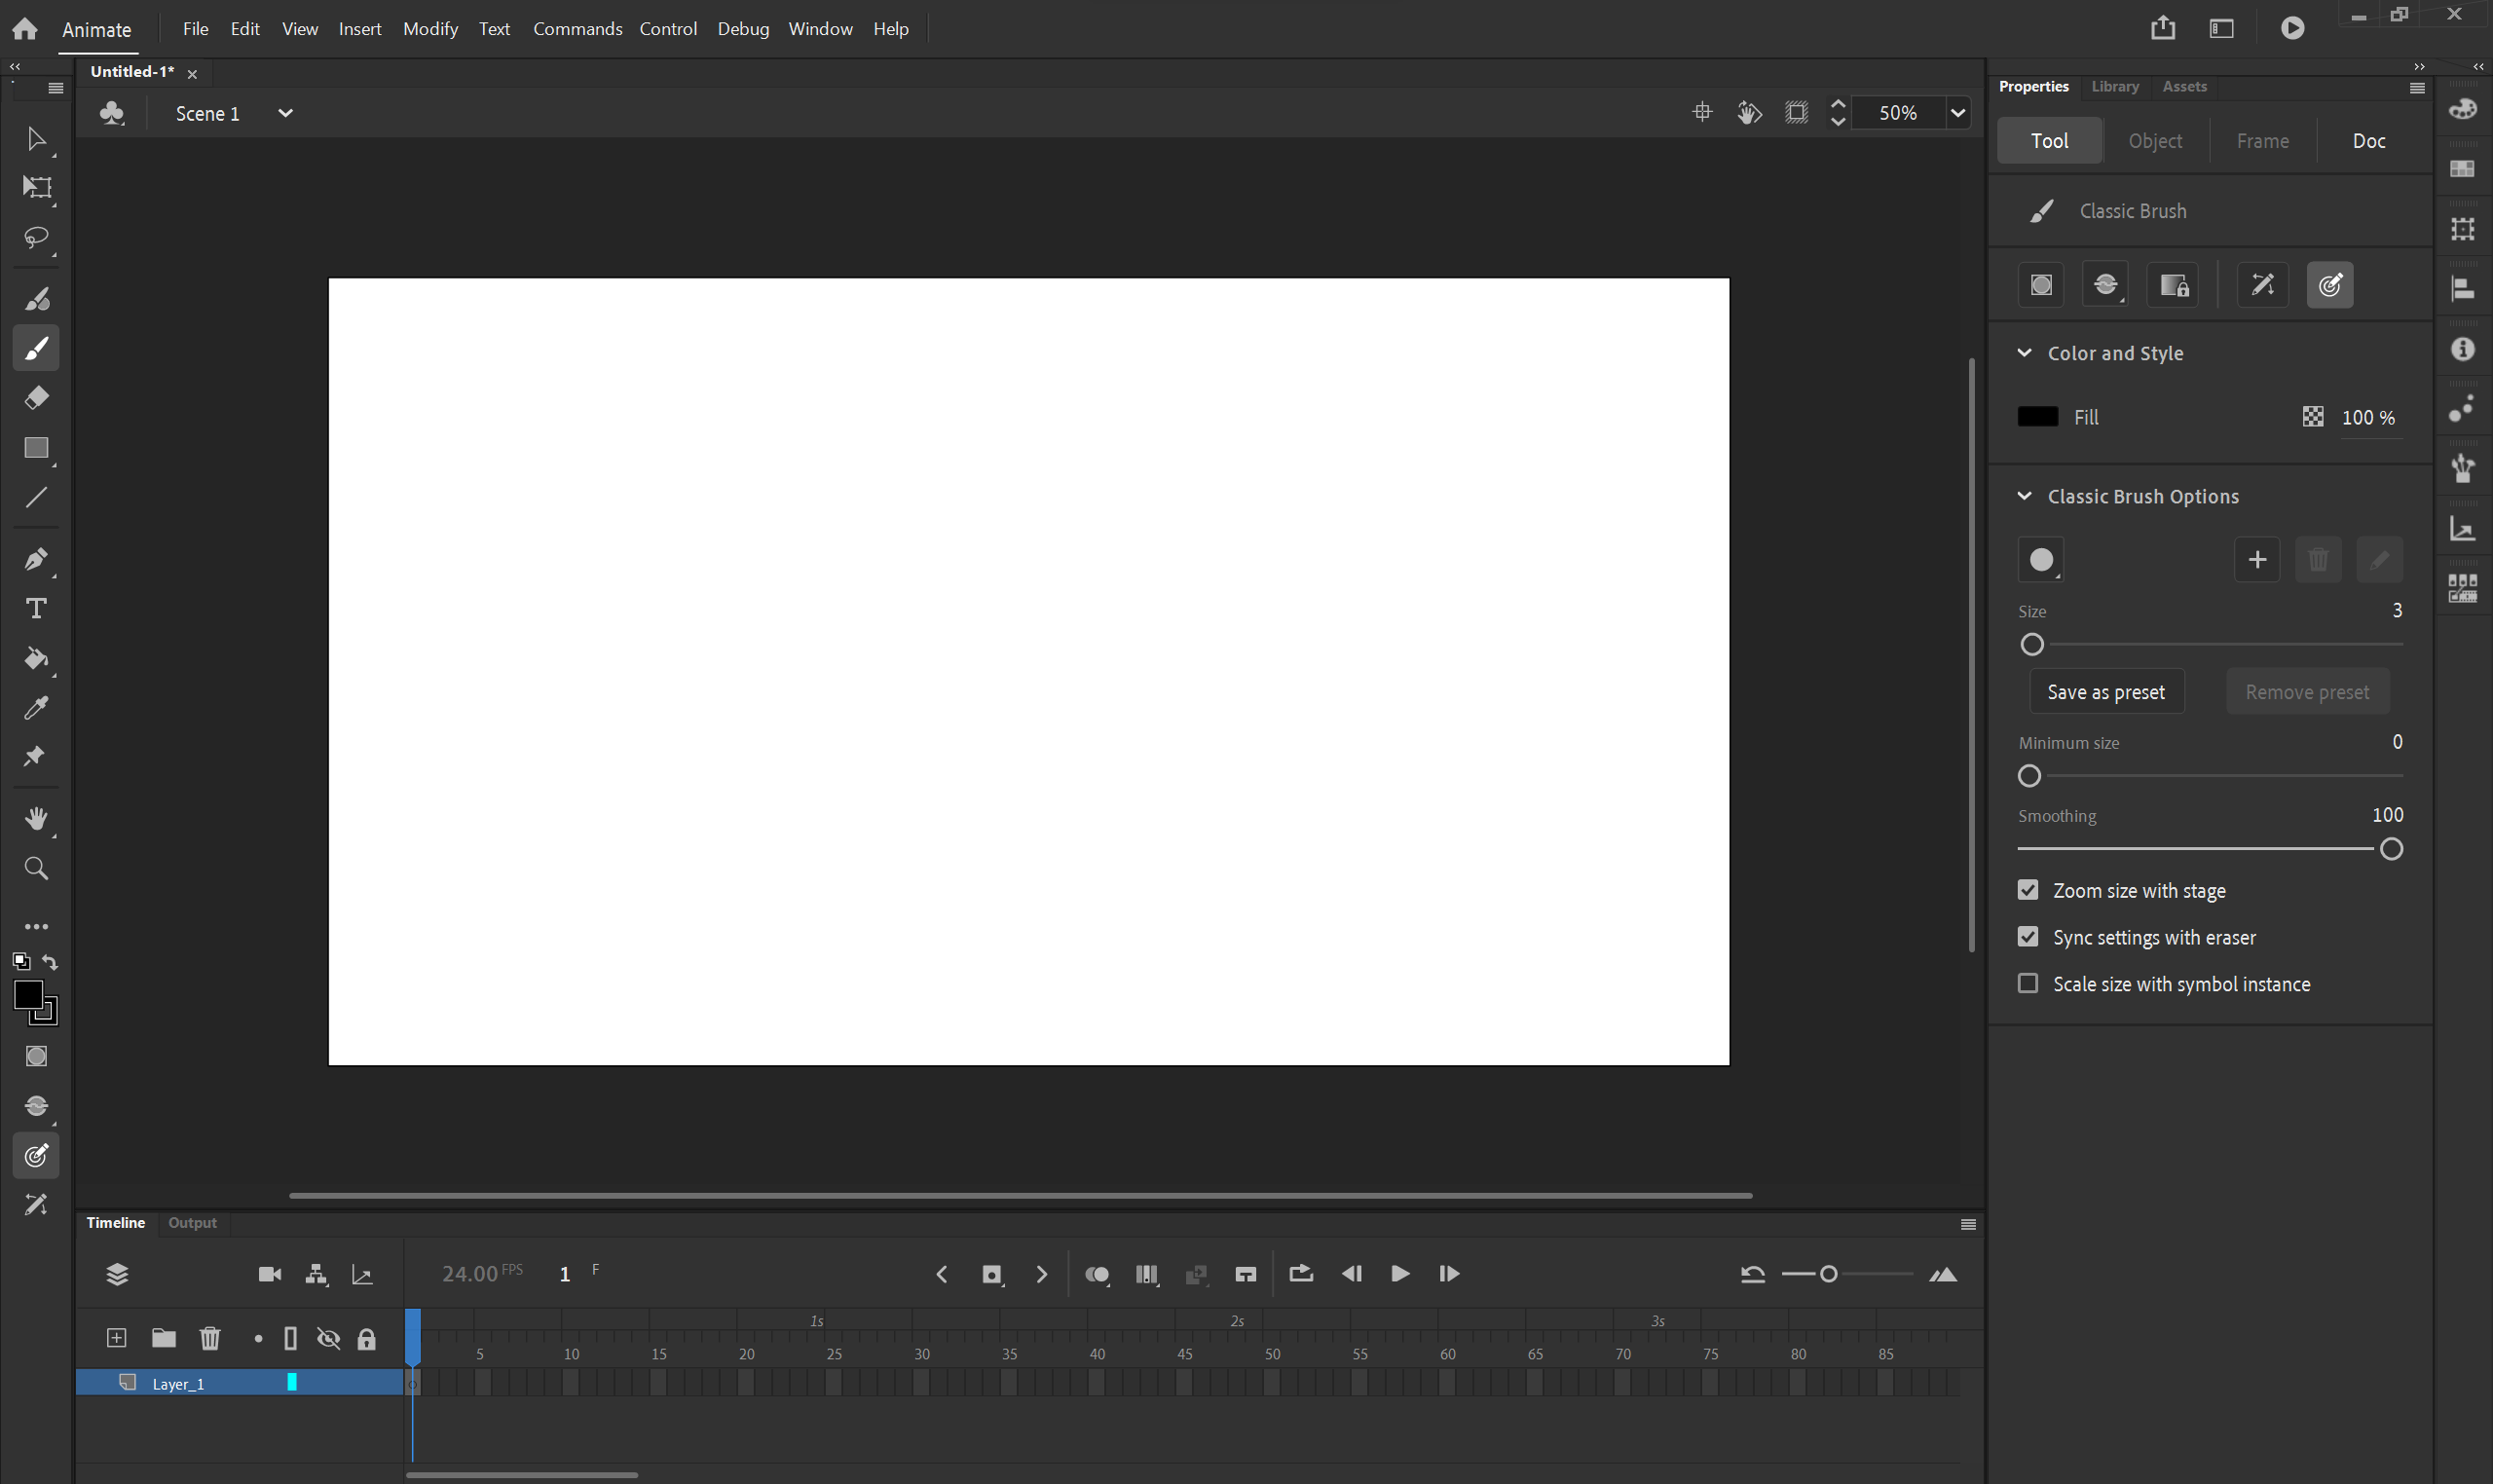
Once the app has been downloaded and installed, it'll dump you right into the staging area. Simply like in every other Adobe program, the Animate workspace consists of an amalgamation of docked panels.
You've got a bunch of tools to your left, most of which are self-explanatory and easy to use. The big, white stage in the heart is where you'll be adding elements and characters to the scene, and you have a Timeline panel below where you can continue track of your animation temporally.
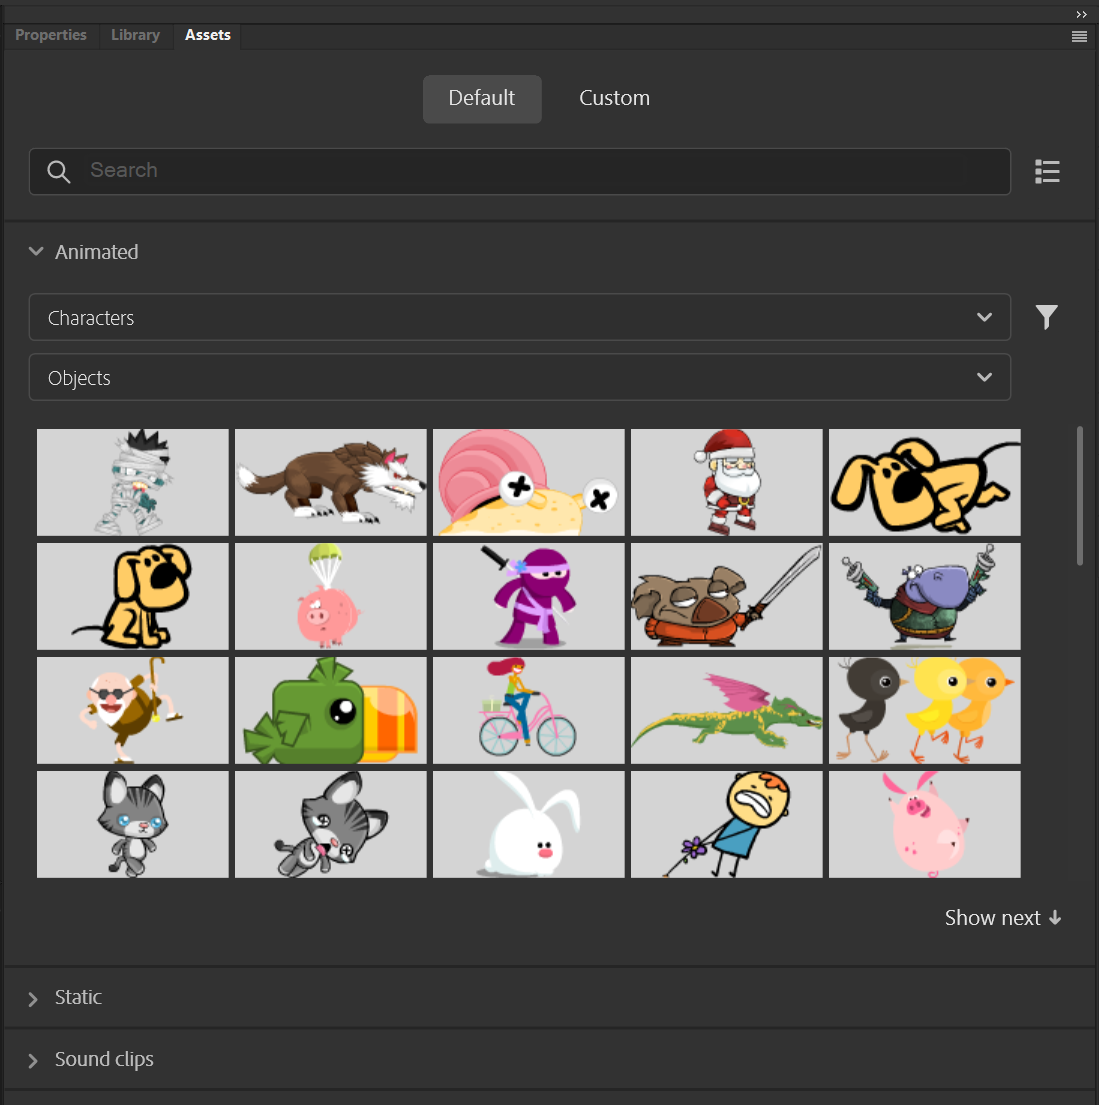
Adobe Breathing'southward flagship feature is the catalog of professionally designed and rigged character models for you to choose from. You'll find all of these in the Assets panel to your right.
There is a lot to explore elsewhere—commands, symbols, lip-sync, and custom character rigging, to name a few. For this Adobe Breathing tutorial, notwithstanding, nosotros're going to go on things simple and focus on the nuts.
Once you've got your bearings, roll through all of the different character options in the Avails panel. Let'south add one to the staging expanse and create a simple animation.
How to Make an Animation in Adobe Animate
In Animate CC, there are a couple of different ways that you tin can animate a grapheme:
- Tweening: yous take two keyframes, one posed farthermost, and and so the other. If y'all're using puppets or vector shapes, you can instruct Animate to mathematically bridge the gap between the beginning and the 2d—a frown that turns into a smile, for instance. Tweens are unproblematic, just you lot can create more than complex effects by compounding them.
- Frame-by-Frame Animation: this approach, often referred to as a digital paperless blitheness workflow, looks a lot like traditional 2d animation. Essentially, you lot draw every frame by hand.
This second approach, admittedly, takes a lot of time, but Animate CC makes it a totally viable option. For now, nosotros're going to explore how to animate a rigged grapheme blueprint with tweens.
Choosing a Graphic symbol to Breathing

Using the second dropdown, yous can cheque out some of the naked rigs in Animate, already animated and gear up to be adorned.
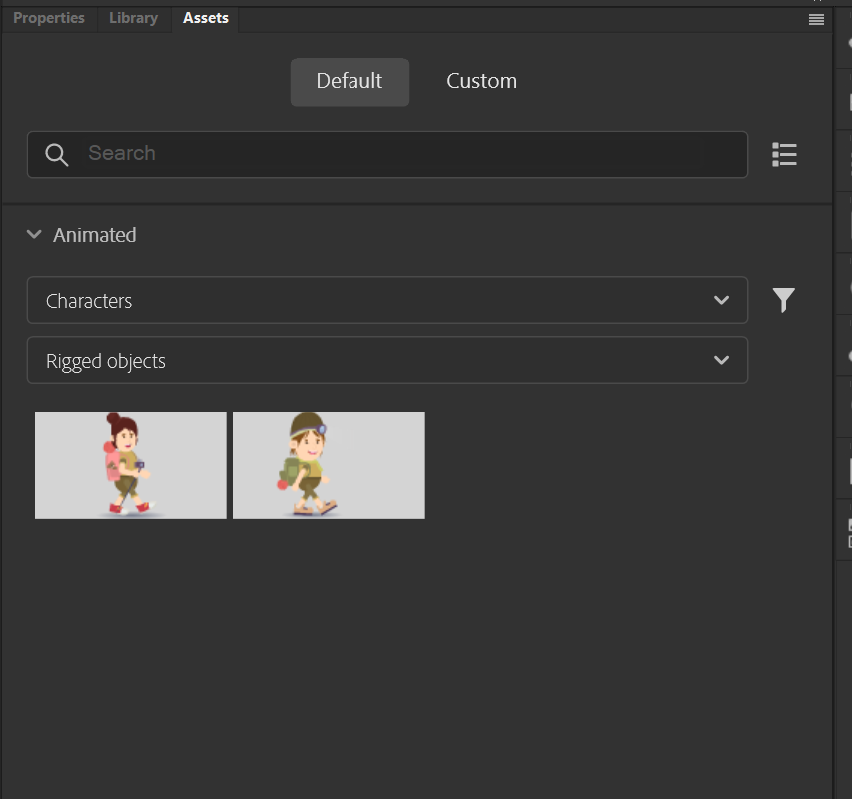
Nether Rigged Objects, you'll find two spelunkers, both fully rigged. Nosotros're going to go with the girl. Drag and driblet her into the staging area.
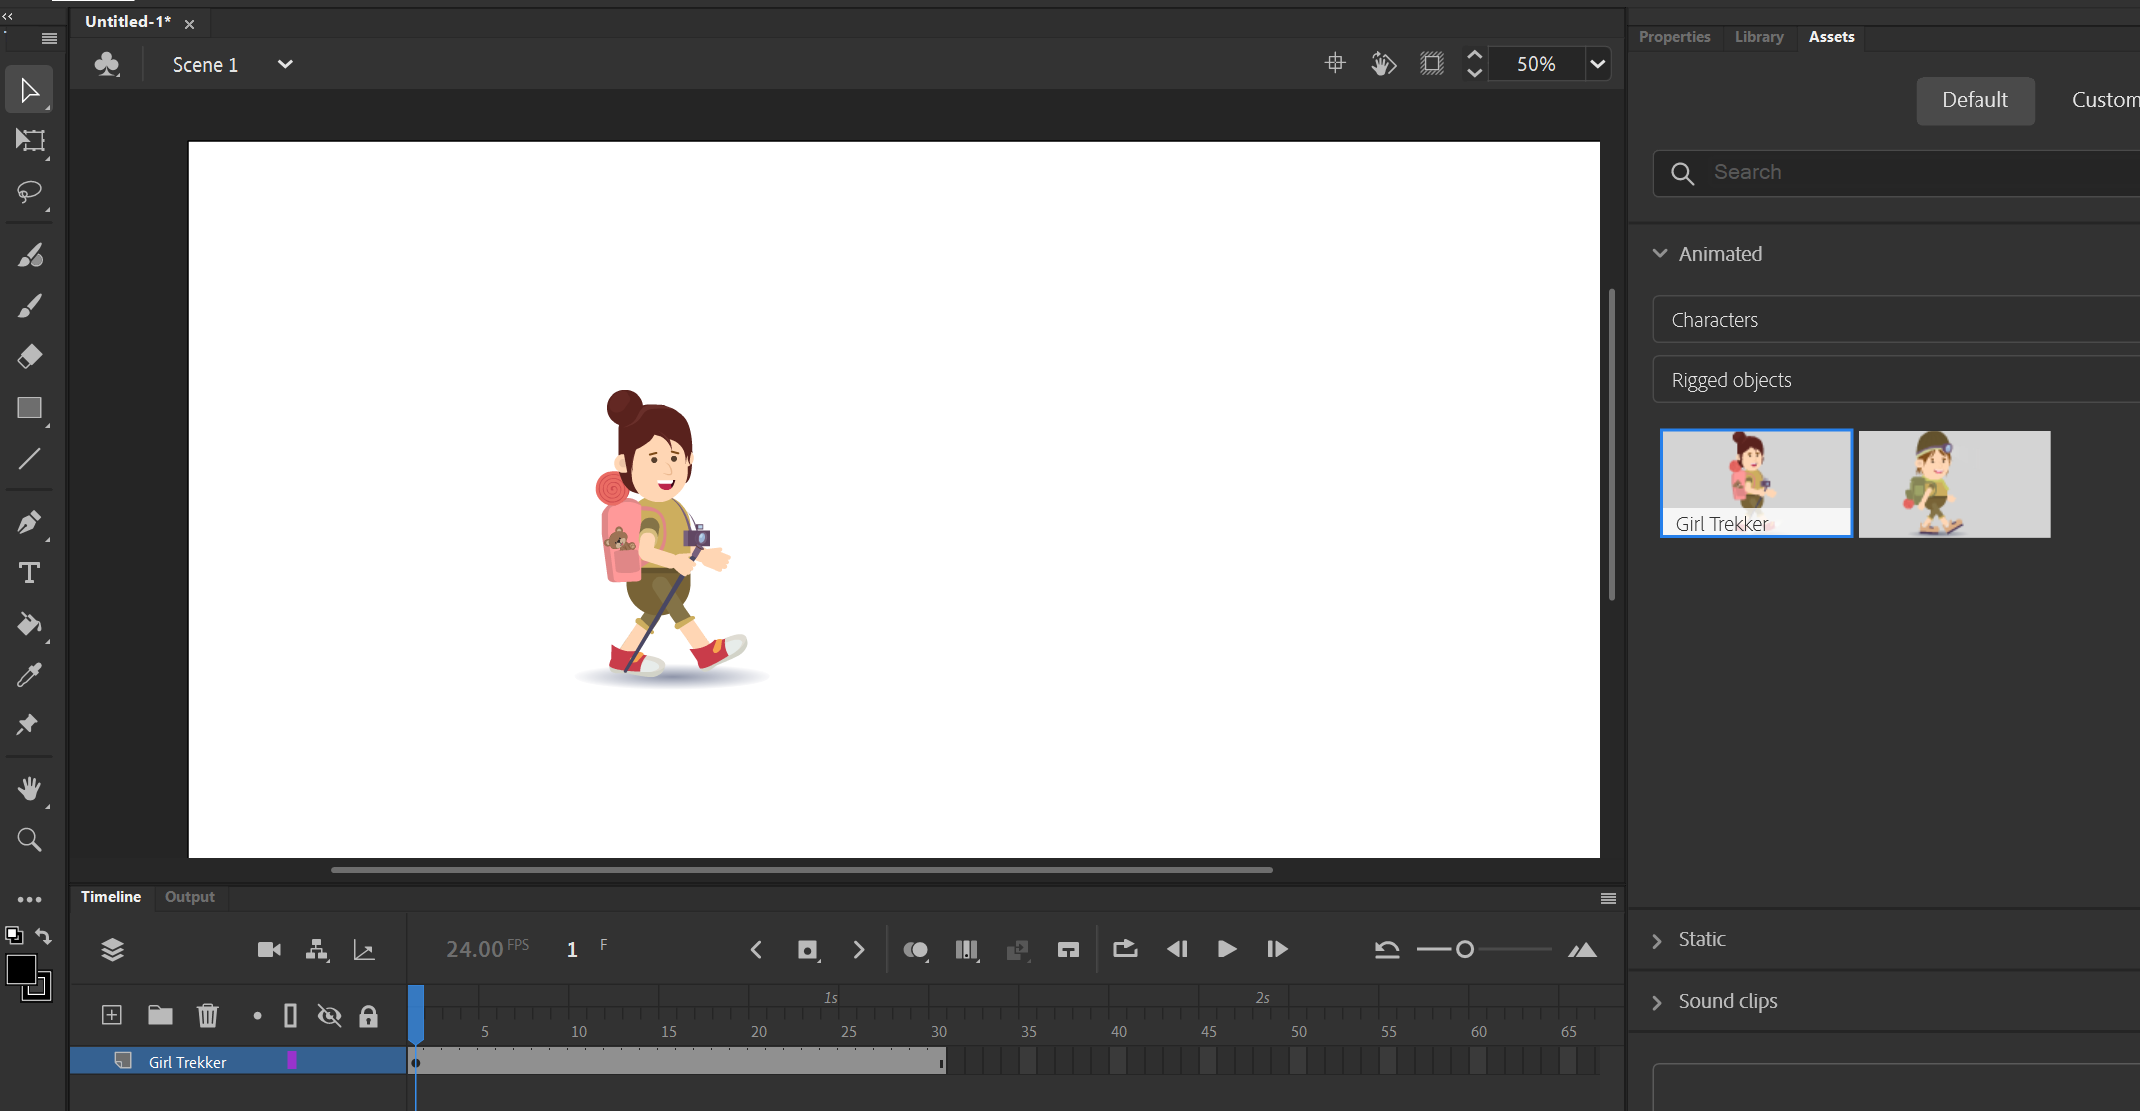
At that place she is, and she walks just fine, but our timeline is looking suspiciously bereft of action. Where are all of these tweened keyframes hiding?
In order to go on, we'll need to step into our character's own personal timeline. To do so, double-click on her model in the staging area. To step dorsum out, follow the breadcrumbs at the top of the staging area.
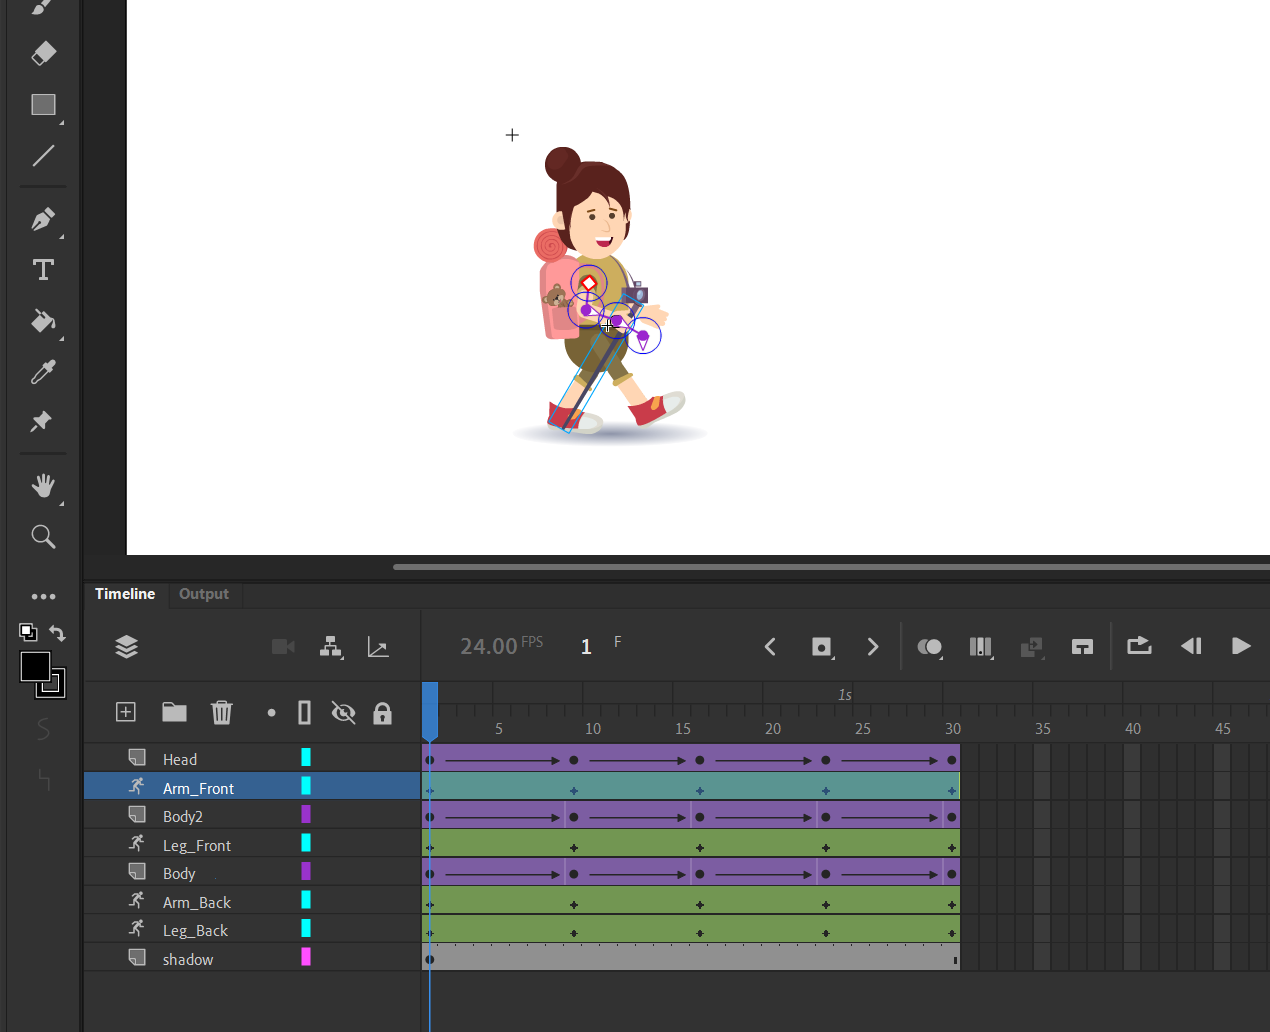
Wow. That'southward a lot of layers.
We can see that each element of her armature exists on a totally separate layer. Selecting any body part reveals the underlying skeleton. Yous're gratuitous to manipulate the rig and fifty-fifty customize it once y'all've advanced sufficiently.
Let'south work on nailing how to breathing what we have before we think about anything else. Now, all of these deportment are laid out, allowing us to modify them if necessary. We can try to brand her do a piddling wave as she walks.
Animative With Rigs in Animate CC
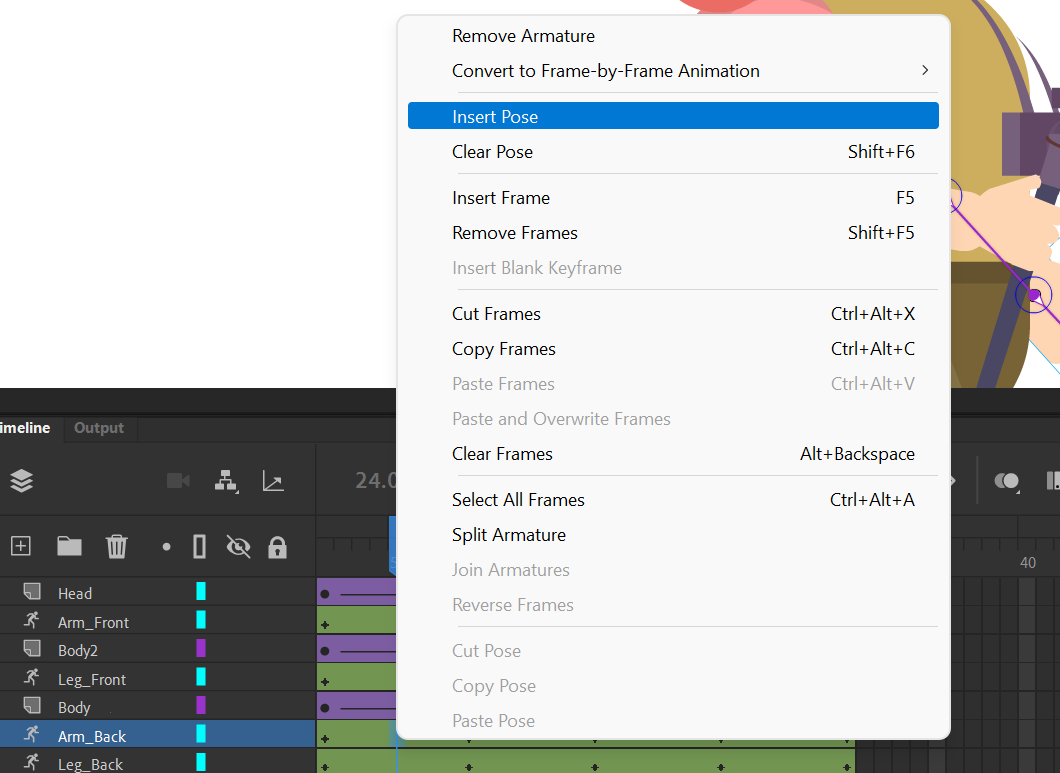
In the timeline, right-click on frame five and select Insert Pose from the context carte.

Cute, but her arm goes back down fashion too quickly. Let'south add more poses so she waves for a few frames before putting her arm back downwardly more than naturally. Continue to add poses and extremes until she starts to experience just a little fleck more than man.
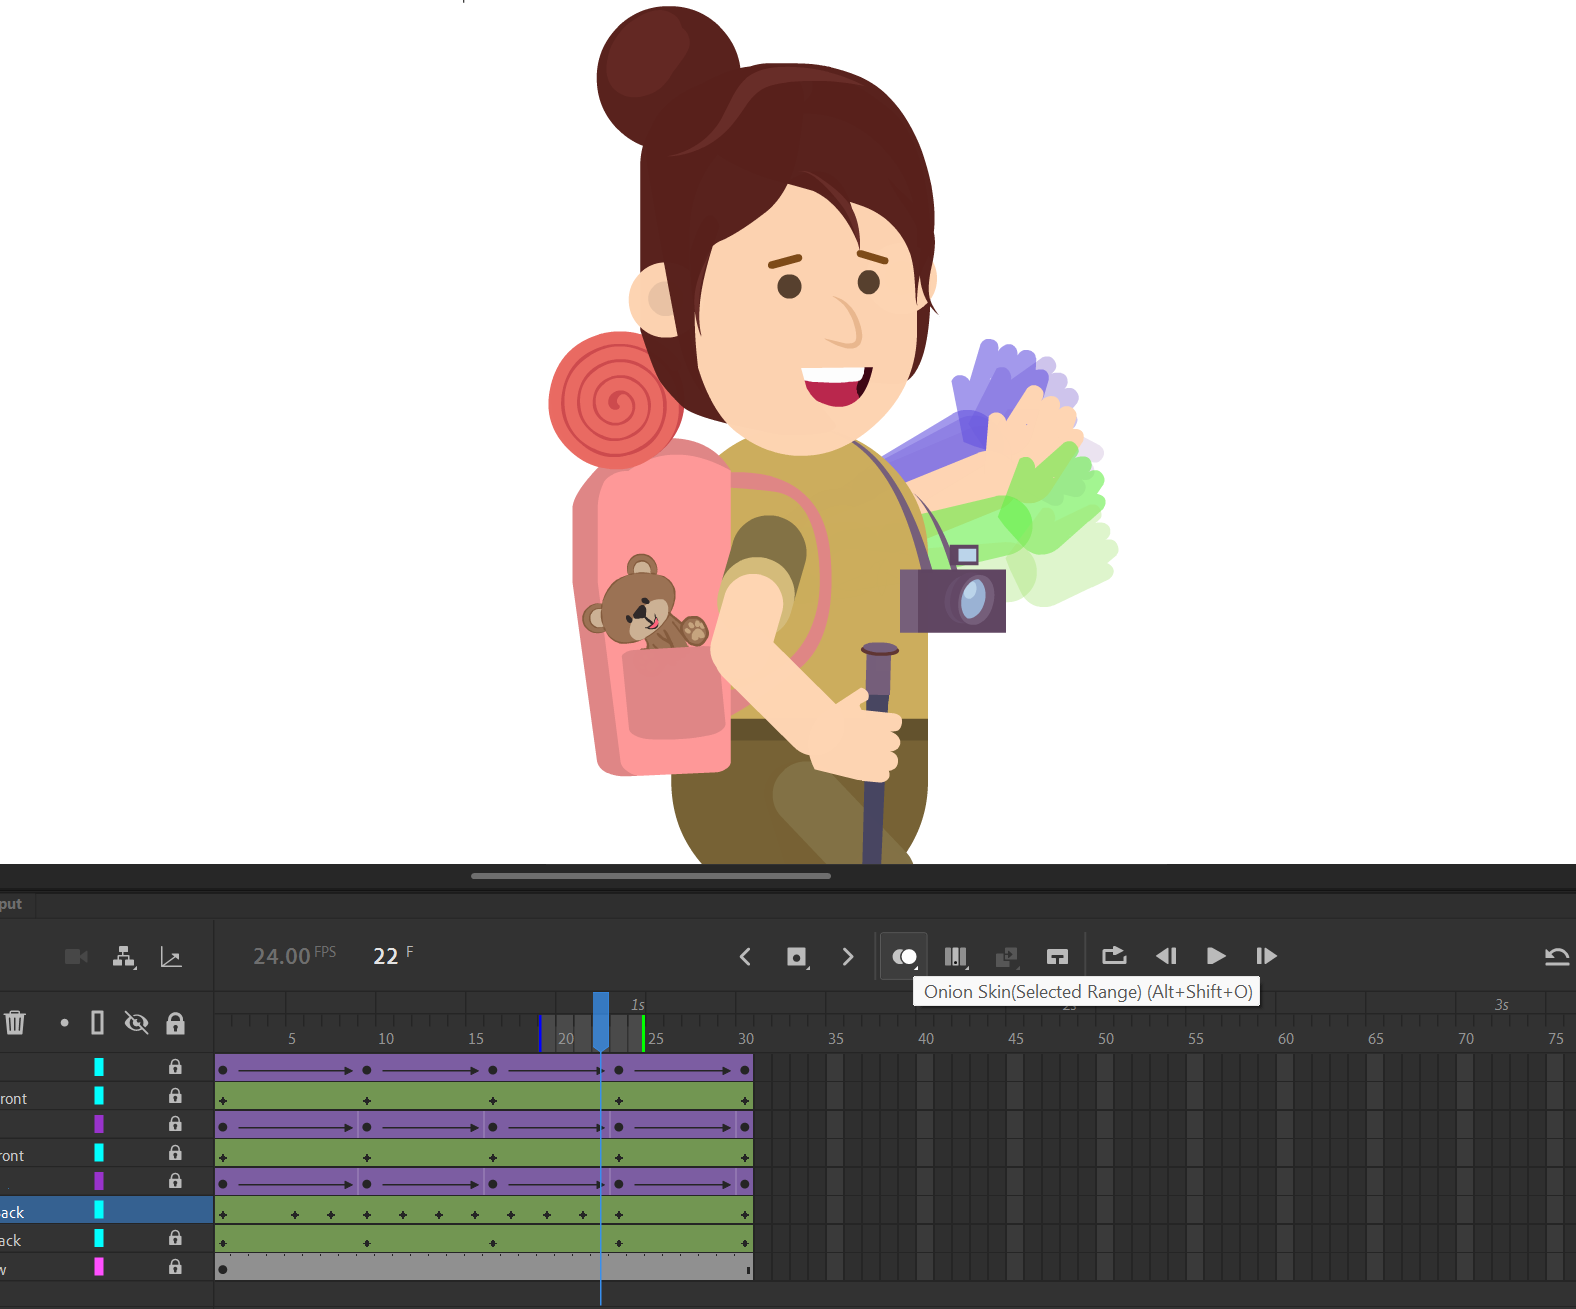
We chose to animate this activeness on twos, adding a new key pose on every other frame; yous can have a closer look at what y'all've got with Animate's Onion Skins display pick. As you lot can meet, this grapheme's armature rigging actually includes a handle that lets the states rotate her hand on her wrist for a much more than spirited and realistic sense of movement.
Use the keyboard shortcut Alt + Shift + O to enable Onion Skins and select the range of frames that yous would like to brandish. Nosotros accept a reasonably smooth progression in front of us, but what if we wanted to add more than in-betweens by hand?
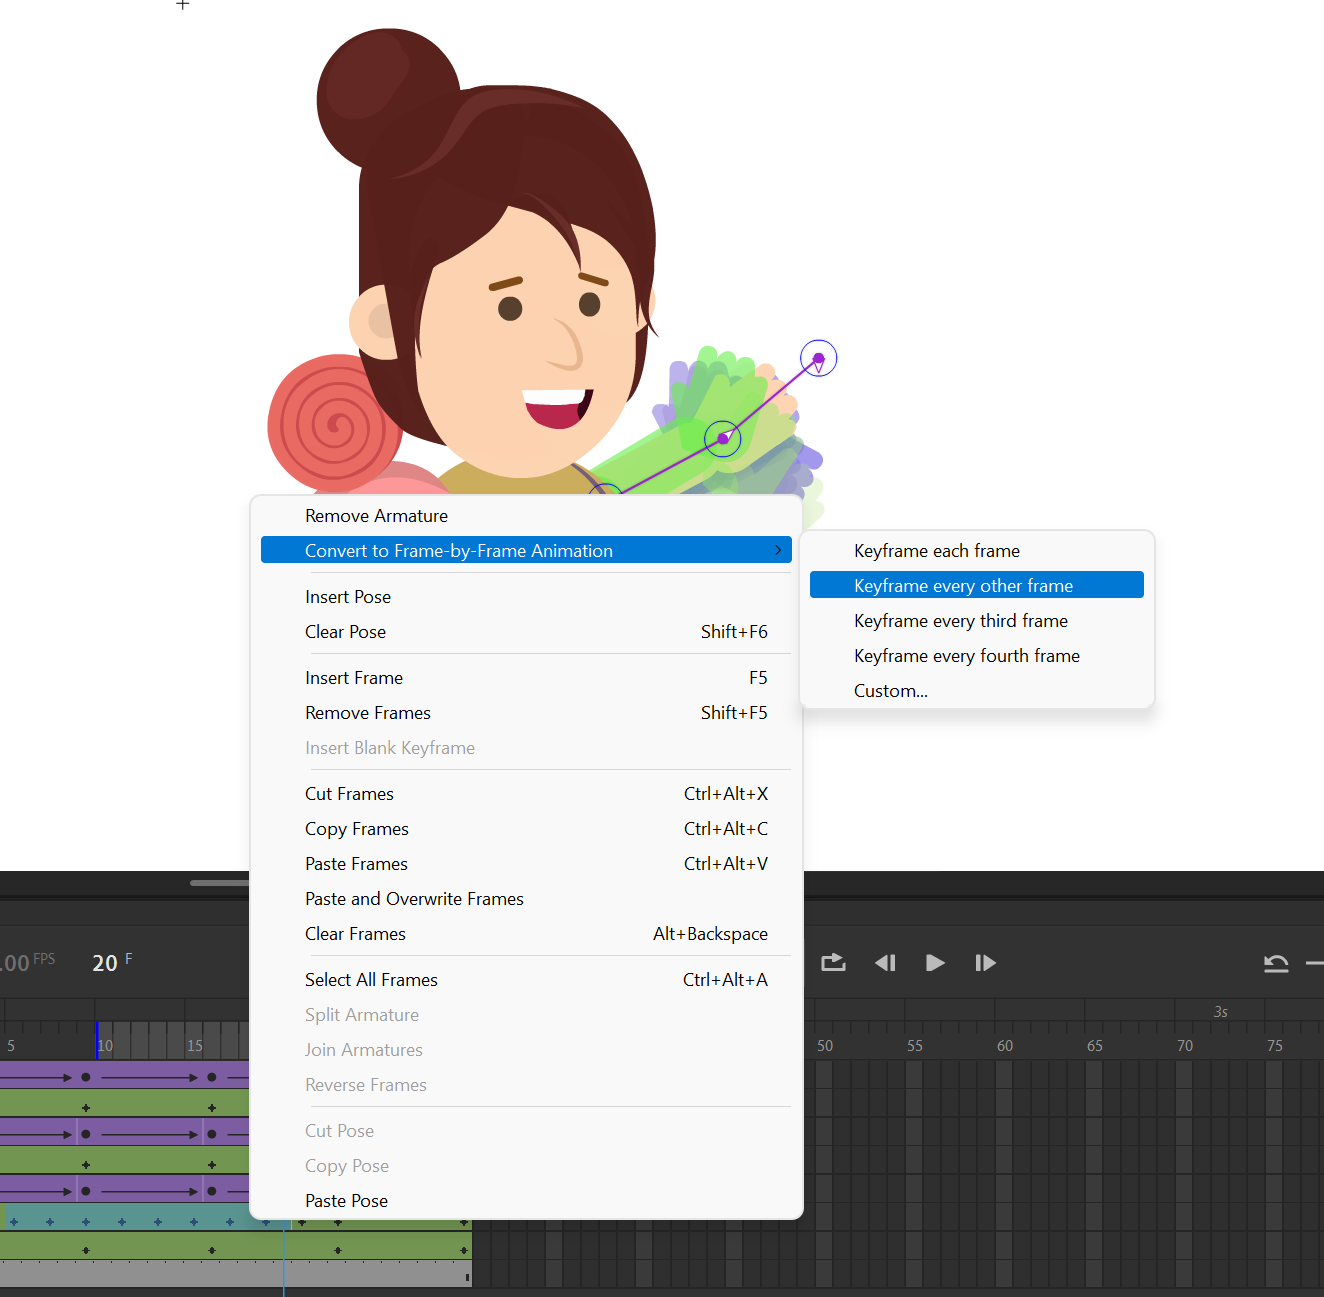
Click and drag the frames that you would like to catechumen then that they're all selected and agile in the timeline. Correct-click and choose Convert to Frame-by-Frame Animation.
We actually love the fact that this feature allows you to specify your keyframe frequency—it makes animative on twos or threes extremely convenient.
How to Export an Blitheness From Adobe Animate
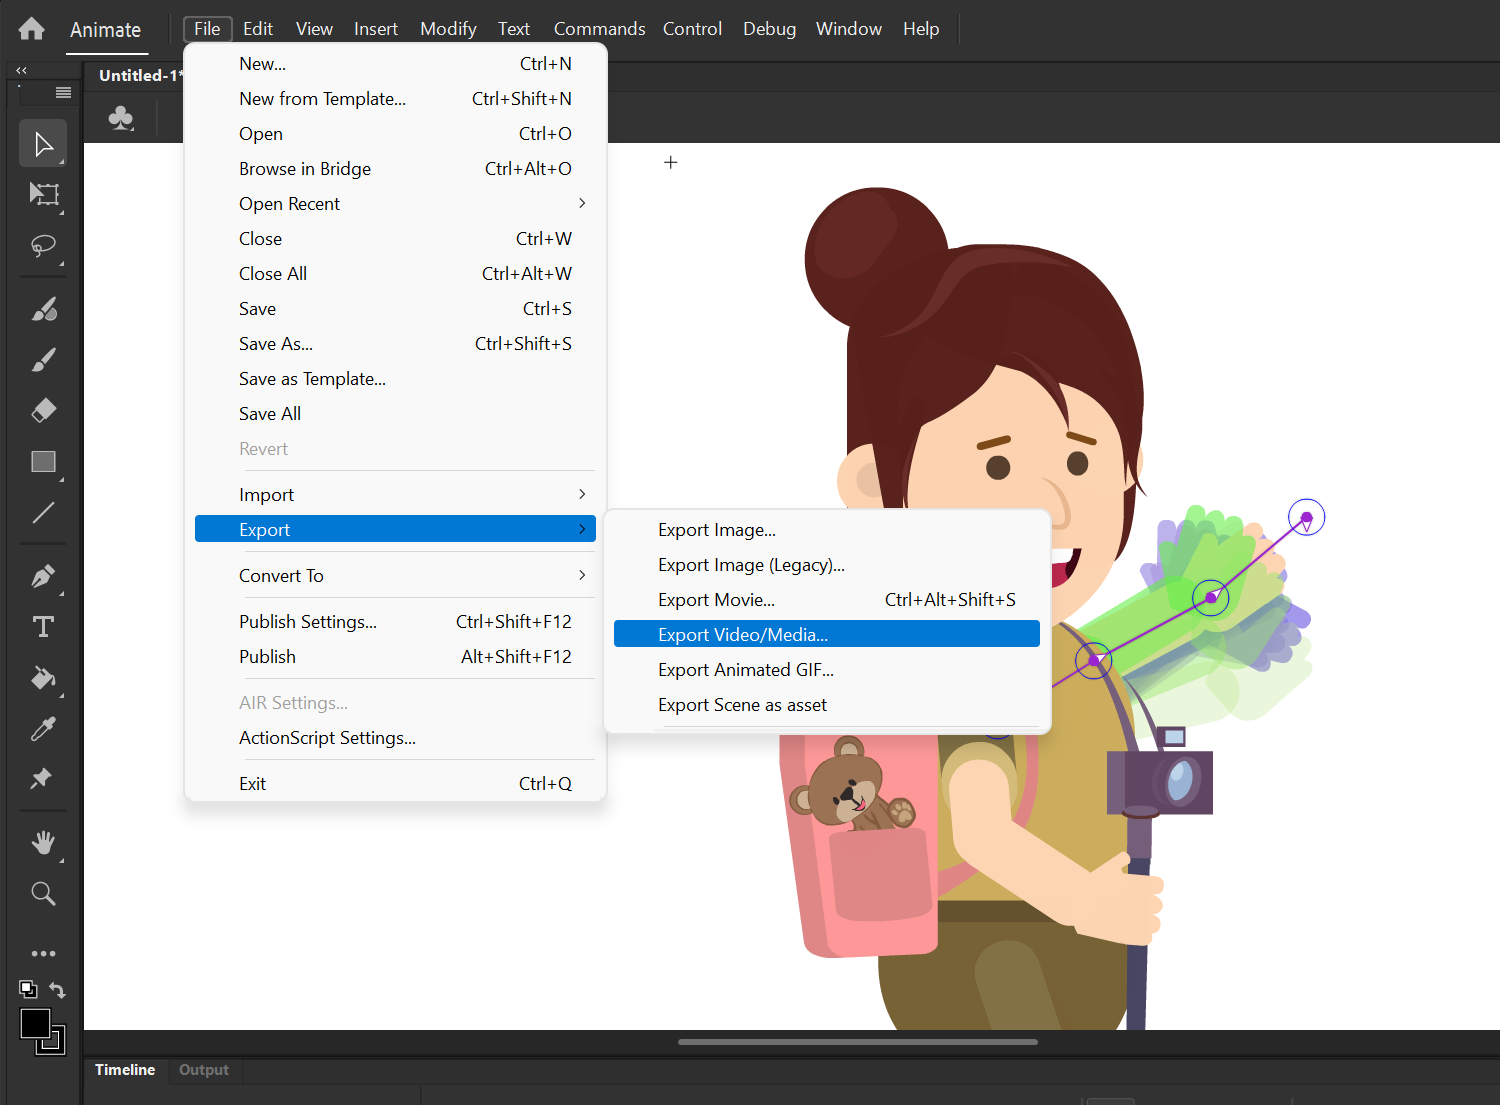
To export your sequence, navigate into the File dropdown above. Nether Consign, select Export Video/Media. You tin too cull to export an image, an image sequence, a GIF, or even a archetype SWF file.
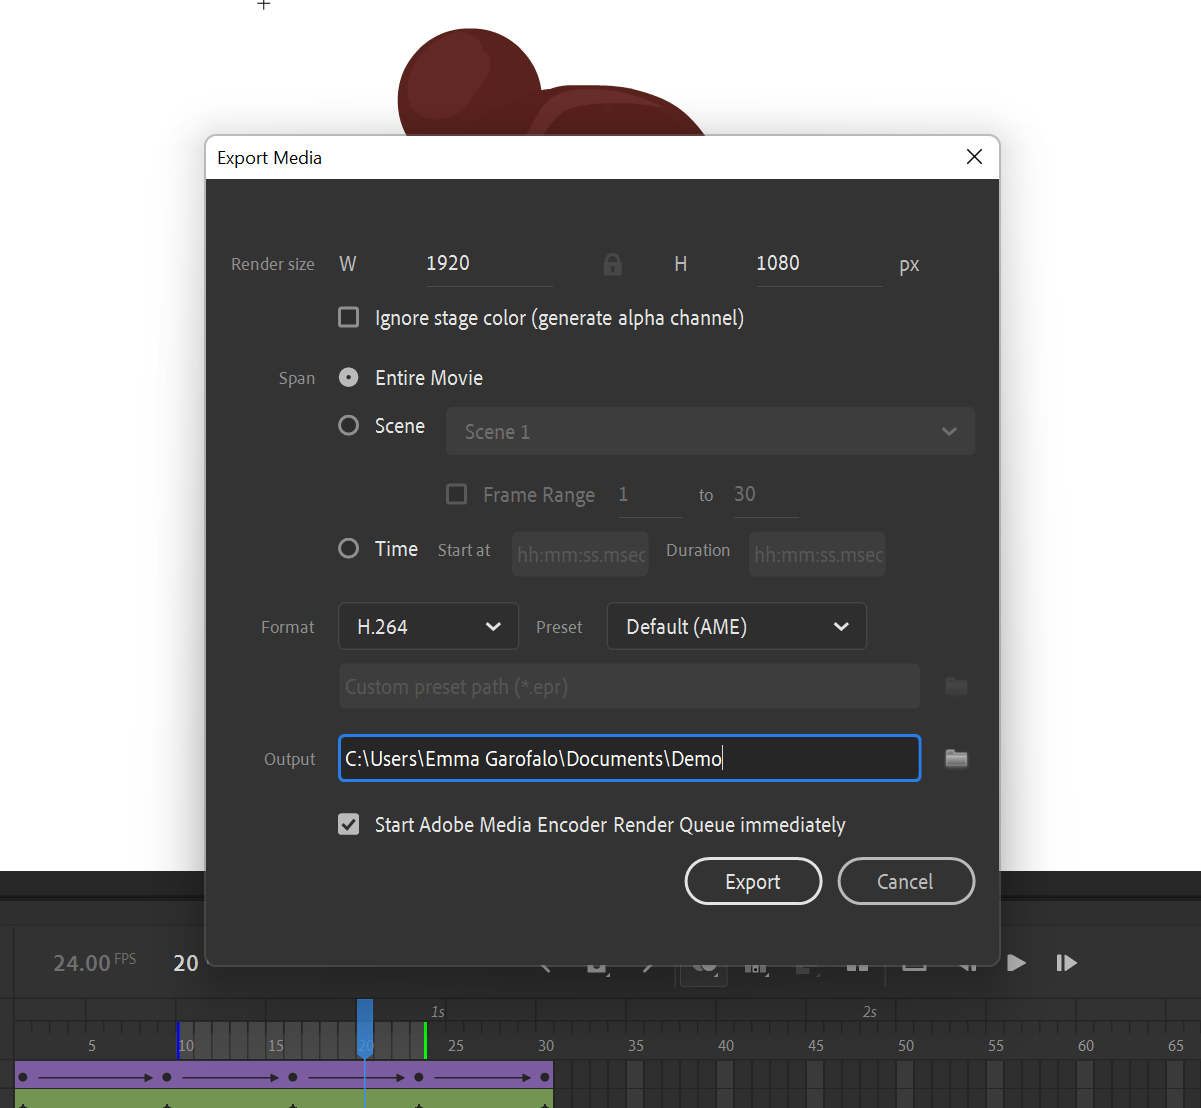
From here, you tin refine your output settings by trimming your sequence, choosing a unlike codec or destination folder, or creating a bigger or smaller file if necessary.
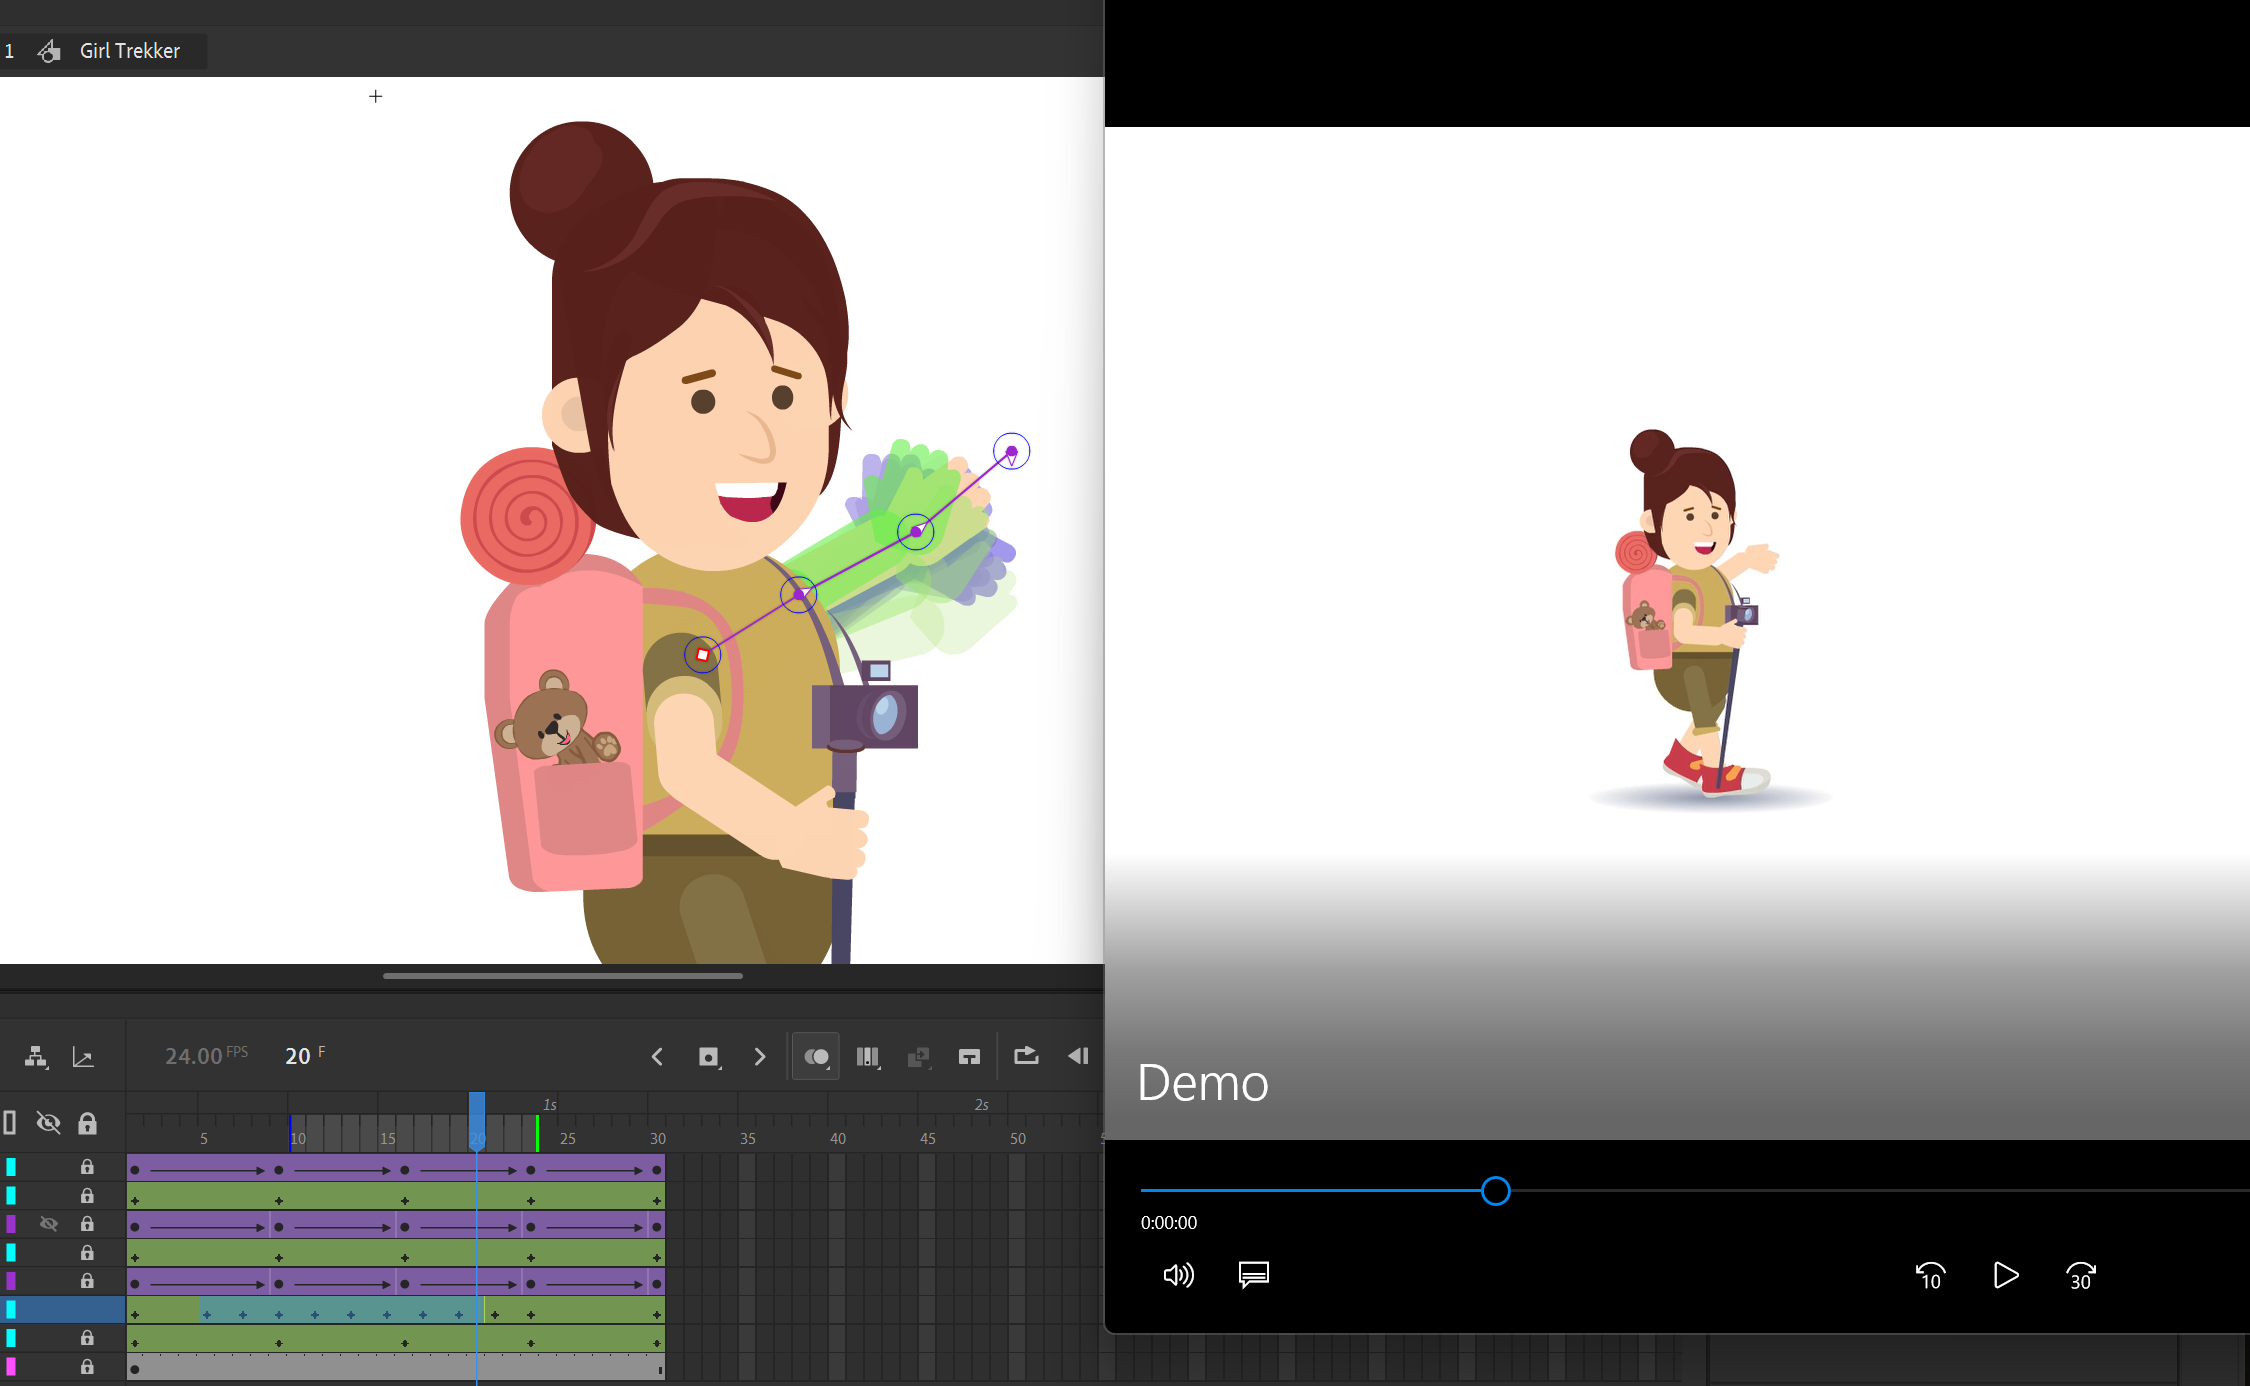
Yous can review the resulting MP4 on any external video player. Information technology can be used as a part of larger video projects or published direct on the web.
Breathing CC for Beginners: So Easy, You Won't Ever Want to Put It Downward
Animate CC makes animation feel like child'due south play. It's a shockingly simple workflow at this level, but subsequently you lot have the fundamentals down pat, you'll run into that all of these tools and techniques can exist used to create something much more complex.
Honestly? We're just getting started. With every new lesson learned, an entire earth of possibilities opens up before united states.
Source: https://www.makeuseof.com/adobe-animate-tutorial-how-to-for-beginners/
Posted by: cartertherly.blogspot.com
0 Response to "How To Make An Animation With Adobe"
Post a Comment